1. Install OceanWP Child Theme if you don’t have intsall.
If you don’t have a child theme yet you’ll want to set up. Please click on this link for how to install OceanWP child theme.
2. Add Your Custom Font To Your Child theme
Below are the steps for adding a custom font to your child theme, this, of course, assumes you know some basic web development.
- You’ll need to first grab your custom font and if it’s not in @font-face format you will have to format it correctly.
- Create a new folder called “fonts” into your child theme and add your new formatted, web-ready fonts inside.
- Import your new fonts in your child theme’s style.css file. Example below:
@font-face {
    font-family: 'Your Custom Font';
    src: url('fonts/webfont.eot'); /* IE9 Compat Modes */
    src: url('fonts/webfont.eot?#iefix') format('embedded-opentype'), /* IE6-IE8 */
         url('fonts/webfont.woff') format('woff'), /* Modern Browsers */
         url('fonts/webfont.ttf')  format('truetype'), /* Safari, Android, iOS */
         url('fonts/webfont.svg#svgFontName') format('svg'); /* Legacy iOS */
}
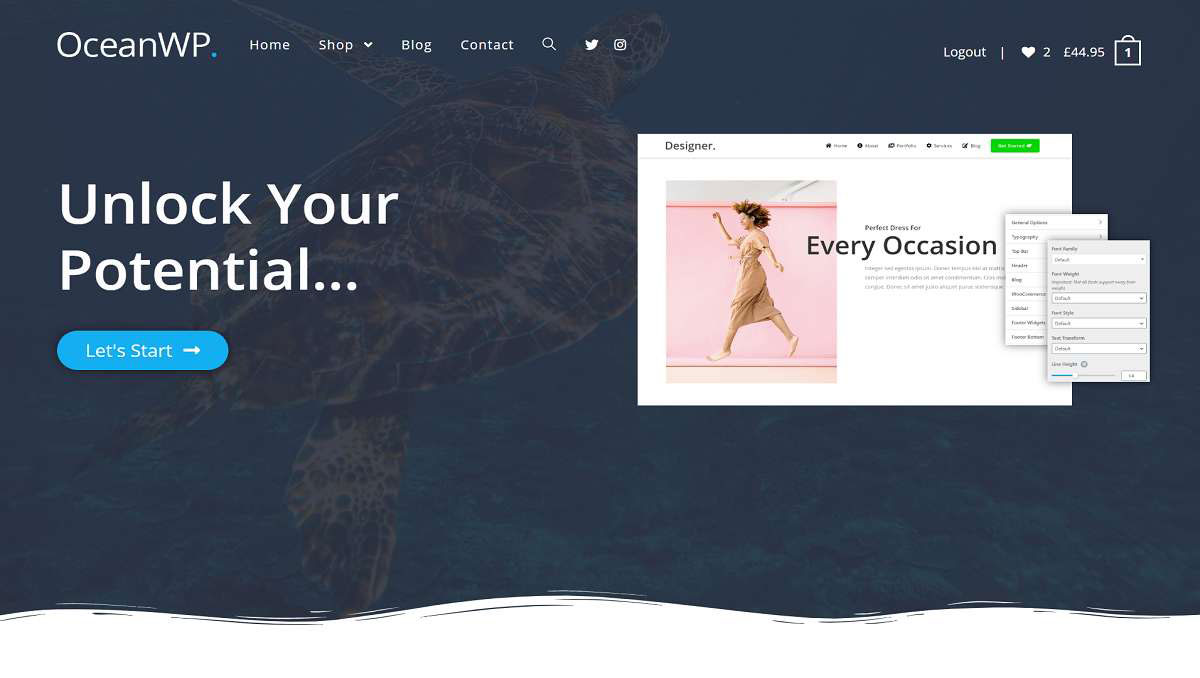
3. Add Your Font to the Theme Settings
For display custom fonts into theme settings you will have to add the following function to your child theme’s functions.php file. This will add it to the Typography options drop-down so you can select it in the theme options and it will output the correct CSS for you!
// Add custom font to font settings
function wpex_add_custom_fonts() {
	return array( 'My Custom Font 1','My Custom Font 2' );
}
I hope this article will help you.